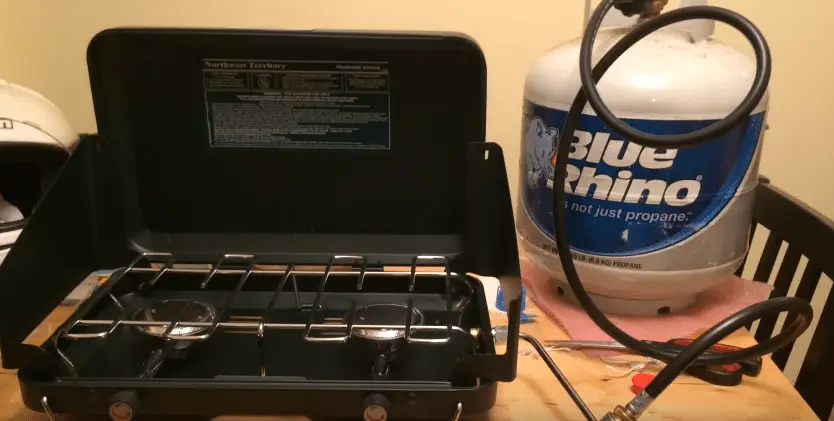
How To Attach A Propane Tank To A Camping Stove
There is no doubt in saying that a camping stove is one of the most important tools for camping and caravanning. It does not matter whether you are going for casual RV camping, fishing or any other outdoor activity, a camping stove will provide you a lot of benefits and will make your journey more comfortable. However, installing a camping stove is very easy but still, some people face problems is attaching the propane tank to the stove. So if you are one of those, then this article is very helpful for you. In this article, you will get a series of steps telling how to attach a propane tank to a camping stove properly. Now without any time, let’s get started.
1- Prepare Everything
The first thing that you should do to carry out the entire process smoothly is gather all the necessary equipment. The two main equipment you will need are, a physical camping stove, and a pipe or connection hose to connect the stove to the container. Though you can keep some other portable industrial equipment for an emergency but these two are mandatory.
2- Choose A Stable Surface To Set-Up Your Stove
After collecting all the main equipment, you should select a stable surface to set up your stove. This will keep your stove fixed in a position and prevent it from toppling over during the process. If the camping place is uneven, then you should consider digging it into the ground and core out the makeshift surface, if necessary. But if everything is okay and the surface is even, then you can start connecting the hose or pipe to the stove and the tank, make sure to exercise extreme safety.
3- Connect the Hose
Before starting the process, make sure that all the switches of your stove are turned off completely. Now pick up the hose, it should be twisting easily. Then with the complete control and security, connect the hose to the stove and make sure it is tight and positioned properly to prevent any leakage.
4- Make Sure There Is No Leakage
After connecting the hose, it is very important to test for possible leakages. You can check it by firing up your canister. This is the easiest method of checking leaks and it will also give you satisfaction and peace that everything is done properly and you are safe. It is also recommended to check the leakage with the help of a soapy water solution. Spray the water into the connector points and look if any bubbles form. If you notice bubbles are coming out, then it is an indication that your connection cable is loose. Tight it up, then move to the other step.
5- Build Some Pressure
Now you are ready to test one of the camping stove’s connectors. First, you should release the gas, you will be able to hear the sound of propane running. Once you hear this sound, you can light up the stove. You can use a lighter if your stove is not featuring an ignition. Once you have a regular steady flame, you can adjust the heat level as per your needs.
Why My Burner Is Not Heating Up Correctly?
Despite following all the steps exactly as they are mentioned above, if still, your burner is not heating up correctly, then here are some things that you can do to solve this problem:
• Check if there is any blockage- If your burner is not lighting properly, then chances are that it might be clogged by some external factors such as remaining food, dirt or anything else. You can use a compressed air gas to fix this clogging problem
• Check if there is any physical damage- Another main reason that can cause improper burner lighting is a damaged hose. Check whether the hose is in good condition or not. You will need to replace the hose if the problem is arising due to damaged hose
Conclusion
If you want to make your trip more comfortable, then you should make sure that you have all the necessary tools to overcome any technical problem. Though a camping stove is very durable but still you should check its condition before starting your journey. All of the steps that you should follow are mentioned above. Hope this article will solve clear some of your doubts and give you some helpful information.

